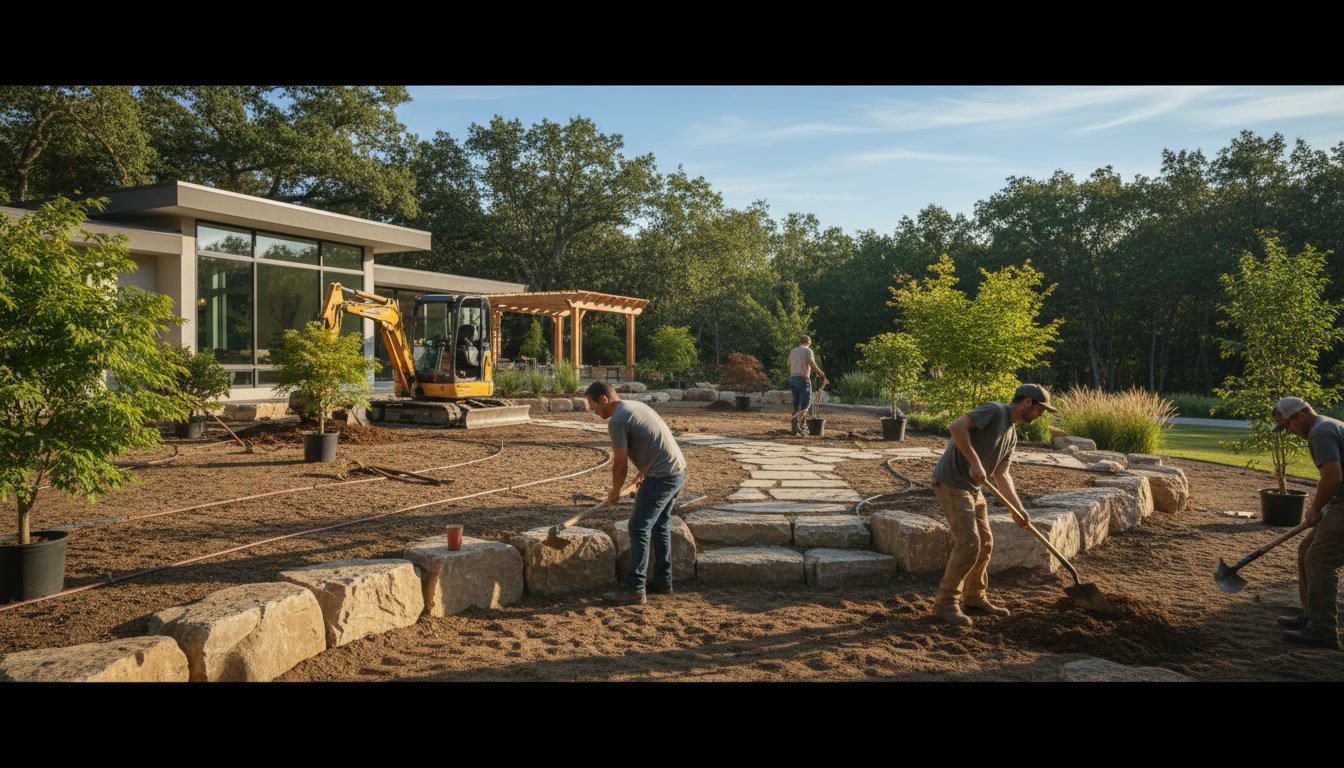
Professional landscape design installation follows a structured process that transforms your outdoor space from concept to reality. The installation phase begins after you’ve completed your consultation and approved the design plan, typically spanning one to three weeks depending on project scope. Each step builds on the previous one to ensure your landscape integrates properly with existing features while creating the outdoor environment you envisioned.
Understanding what happens at each stage helps you prepare your property, coordinate schedules, and know what to expect as crews work on your landscape transformation.
Why Pre-Installation Planning Determines Installation Success
Before any equipment arrives at your property, installers review the approved design plans, check material availability, and schedule delivery windows. This planning phase identifies potential obstacles like underground utilities, poor drainage areas, or access limitations that could delay work.
Crews verify that all ordered materials match the design specifications, from plant sizes and varieties to hardscape materials and soil amendments. Missing or incorrect materials caught during this review prevent mid-project delays that extend timelines and increase costs.
The installation team also coordinates with you to establish work hours, parking areas for equipment, and access points to water and electricity. Clear communication during this phase prevents misunderstandings once installation begins.
How Site Preparation Creates the Foundation for Your Landscape
Site preparation begins with marking utility lines and spray-painting the design layout directly on your property. Installers use the design drawings to outline planting beds, walkways, patios, and other hardscape features with marking paint that shows exactly where work will occur.
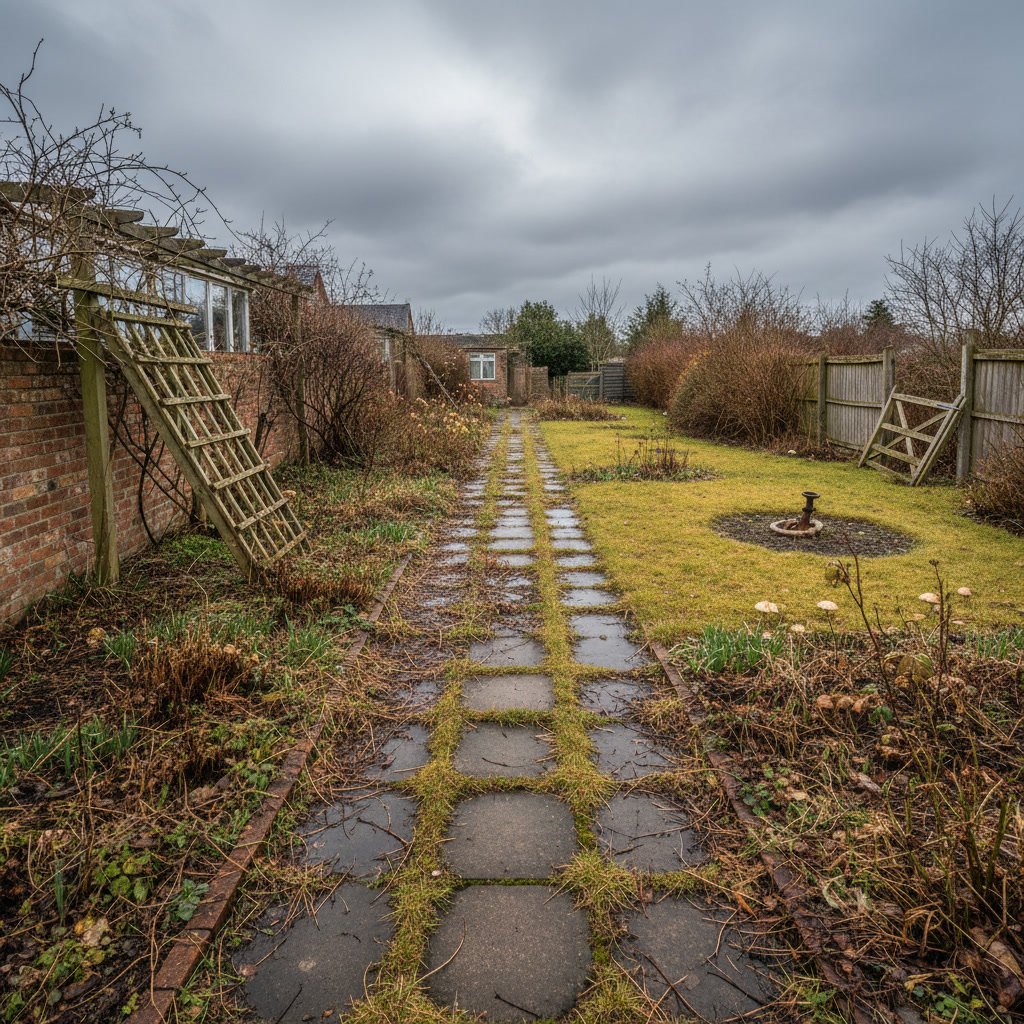
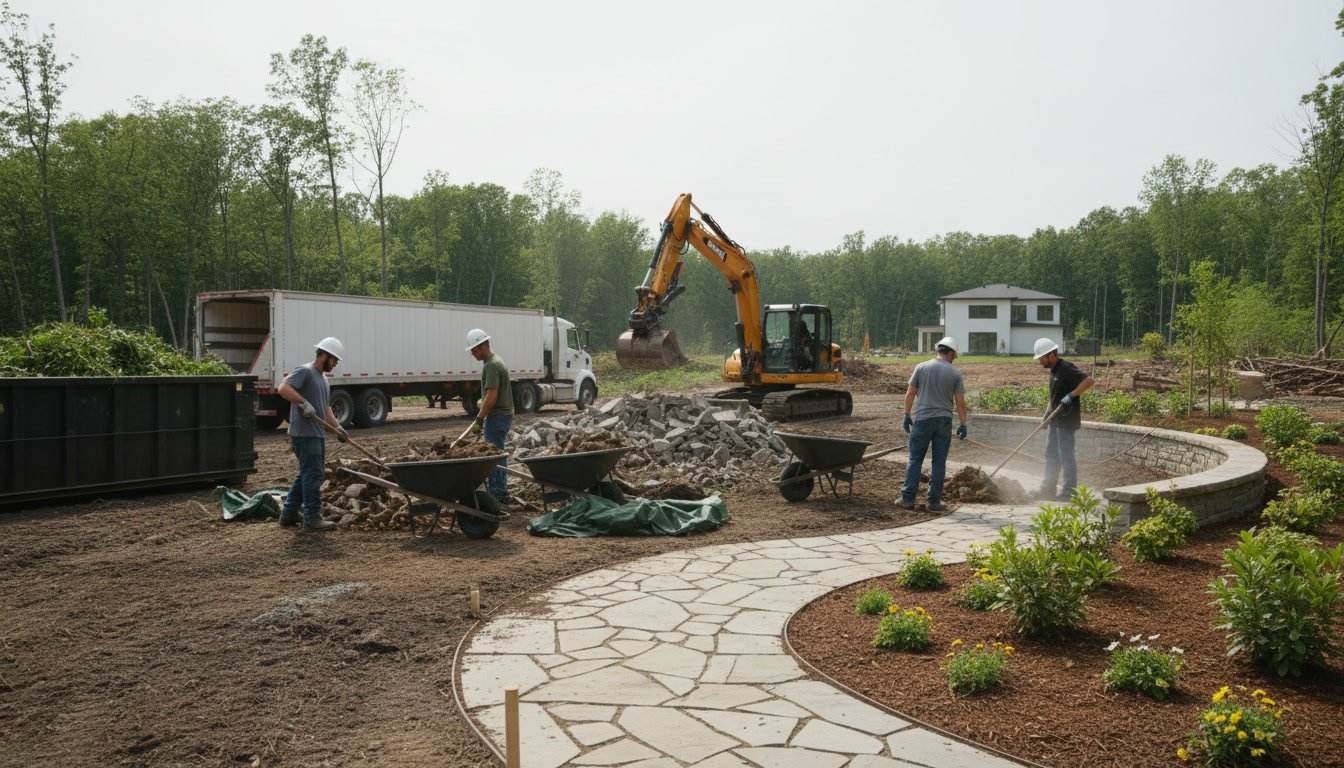
Crews remove existing vegetation, old landscape materials, and debris from work areas. This often includes stripping sod, removing unwanted shrubs or small trees, and hauling away old edging or deteriorated mulch. If your project requires yard cleanup beyond normal site prep, additional time gets allocated for thorough debris removal.
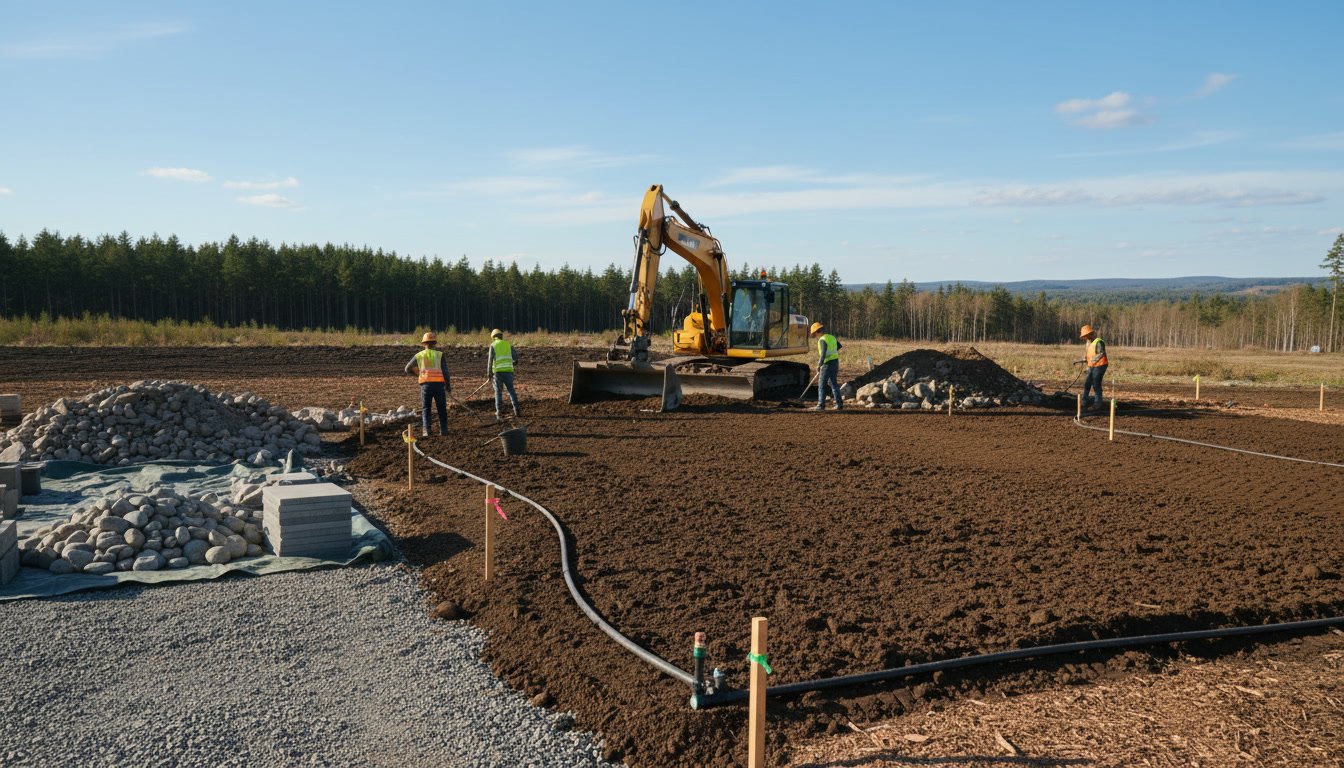
Equipment operators then grade the site to establish proper drainage patterns and level areas for hardscapes. Proper grading prevents water from pooling near foundations or washing out planting beds during heavy rain. This step often requires adding or removing soil to achieve the correct slope.
The Order of Hardscape Installation in Parkville Projects
Hardscape installation always happens before planting because heavy equipment and materials can damage newly installed plants. Crews start with the largest structural elements like retaining walls, built-in fire pits, or outdoor kitchens that require deep footings or extensive excavation.
Paver patios, walkways, and driveways come next, requiring precise base preparation with compacted gravel layers typically six to eight inches deep. Installers set edge restraints first, then lay pavers in the specified pattern, cutting edge pieces to fit properly around curves and obstacles.
Smaller hardscape features like decorative boulders, stepping stones, or landscape edging get installed after major paving work finishes. This sequencing prevents damage to completed work and allows equipment to move freely through the work area.
Irrigation System Installation Before Planting Begins
If your landscape includes an irrigation system, installation occurs after hardscapes but before plants go in the ground. Crews trench lines from the water source to each zone, typically burying pipes eight to 12 inches deep to prevent freeze damage.
Installers place sprinkler heads or drip emitters according to the irrigation plan, positioning them to deliver water efficiently to planned planting areas. Each zone gets tested to verify proper coverage and pressure before backfilling trenches.
The control system gets programmed with initial watering schedules tailored to your plant selections and local climate conditions. You’ll receive instructions on adjusting these settings as plants establish and seasonal needs change.
Soil Amendment and Bed Preparation Steps
Quality landscaping services include proper soil preparation that gives plants the best chance to thrive. Installers till existing soil in planting beds to a depth of eight to 10 inches, breaking up compaction that restricts root growth.
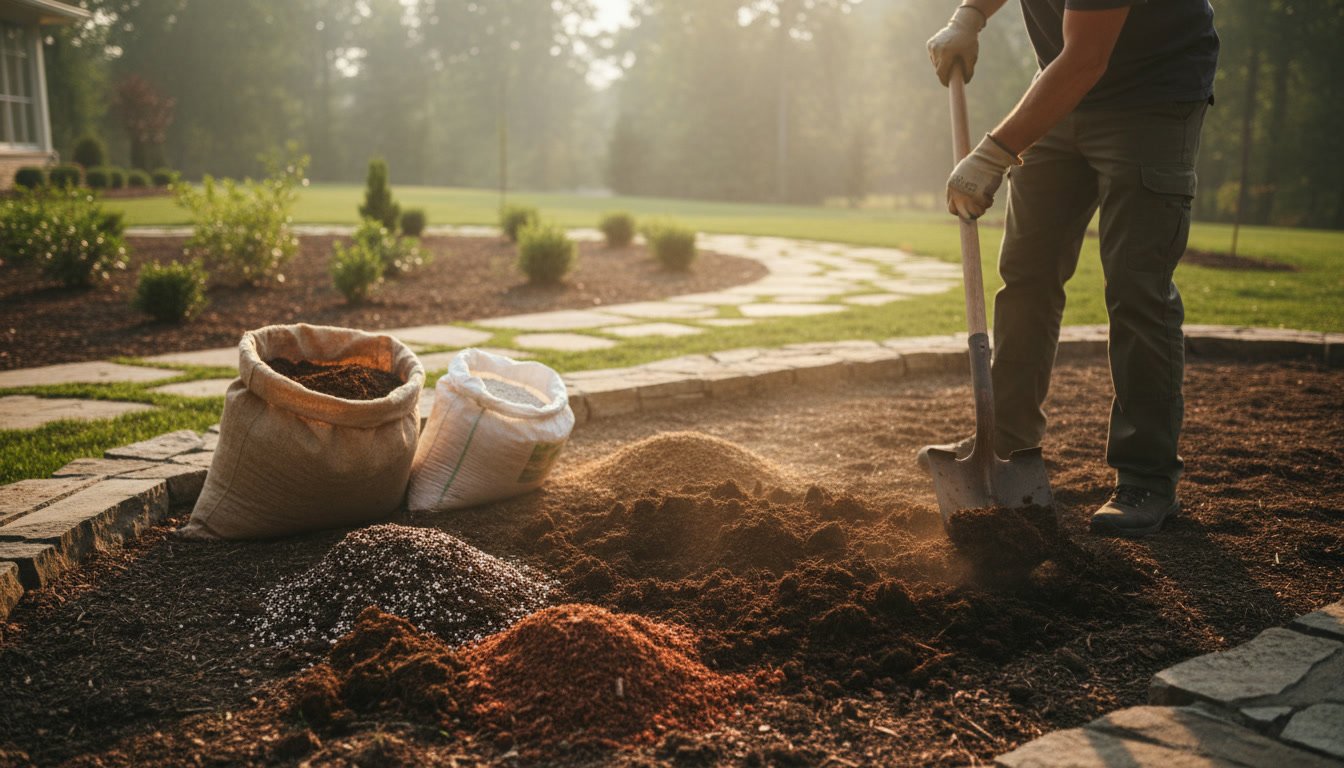
Crews blend in soil amendments based on soil test results and plant requirements. Common amendments include compost for organic matter, sulfur or lime to adjust pH, and sand or peat to improve drainage or moisture retention. The specific mix depends on what you’re planting and your existing soil conditions.
After amendments get thoroughly mixed, installers rake beds smooth and create slight crowns that shed water away from plant root zones. This preparation work directly impacts how well your plants establish and grow in subsequent seasons.
The Plant Installation Process From Trees to Ground Covers
Plant installation follows a specific order that prevents damage to smaller specimens. Large trees go in first, positioned according to the design plan with attention to mature spread and sight lines. Installers dig holes two to three times wider than the root ball but no deeper, preventing settling that buries the root flare.
Shrubs and ornamental trees get planted next, spaced according to their mature size rather than how they look immediately after installation. This spacing looks sparse initially but prevents overcrowding as plants grow.
Perennials and ground covers fill in last, planted in groupings that create visual impact and allow efficient watering. Each plant receives an initial deep watering immediately after installation to settle soil around roots and eliminate air pockets.
Mulch Application and Finishing Touches
After all plants are installed, crews spread mulch across planting beds to a depth of two to three inches. Proper mulch depth suppresses weeds, retains soil moisture, and regulates soil temperature without suffocating plant roots or encouraging rot.
Installers pull mulch back slightly from plant stems and tree trunks, creating a small gap that prevents moisture buildup against bark. This detail prevents many common plant health problems that homeowners unknowingly create when they pile mulch directly against stems.
Edge trimming creates clean lines between lawn areas and planting beds. Sharp, defined edges significantly improve the finished appearance and make ongoing outdoor landscape maintenance easier.
Cleanup and Site Restoration
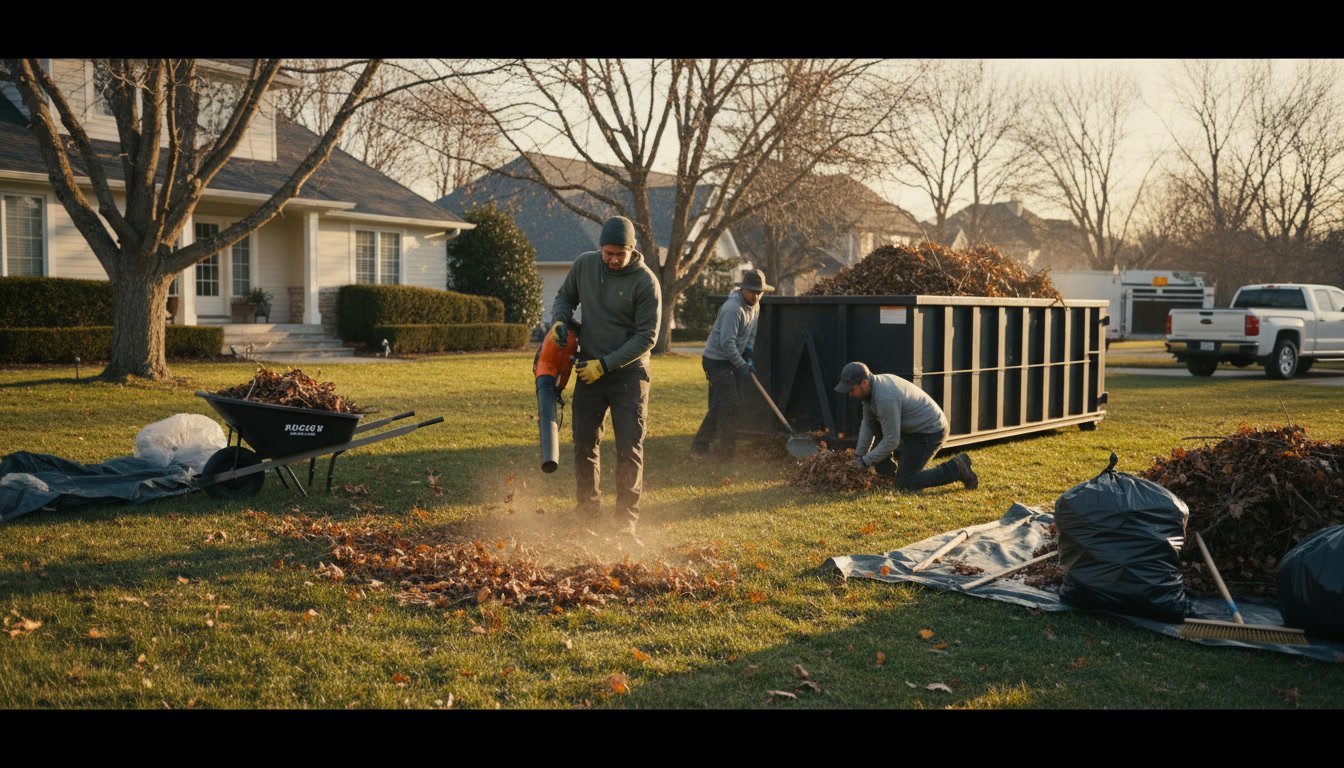
Professional installation includes thorough cleanup that removes all construction debris, excess materials, and equipment tracks from your property. Crews rake and smooth any disturbed lawn areas, reseeding or sodding as needed to restore turf.
Walkways, driveways, and adjacent properties get swept or blown clean of soil and mulch. Any temporary protection installed on existing features like fences or structures gets removed, and those areas get inspected for damage.
The installation team bags and removes all waste materials unless you’ve requested that extra soil or mulch be stockpiled for your use. Your property should look cleaner after installation than before work began.
Initial Watering Schedule and Care Instructions
Newly installed landscapes require specific watering that differs from established landscape needs. Trees and shrubs need deep, infrequent watering that encourages deep root growth, typically one to two inches of water per week applied in one or two sessions rather than daily sprinkling.
Perennials and ground covers often need more frequent watering during the first few weeks until roots extend into surrounding soil. The installation team provides a written watering schedule that accounts for season, plant types, and local weather patterns.
This initial care period typically lasts six to eight weeks for most plants, though trees may need supplemental watering for their first full year. Following these instructions prevents the most common cause of new landscape failure, which is incorrect watering during establishment.
The Final Walkthrough and Quality Check
The final walkthrough happens after installation and cleanup finish but before the crew leaves your property. This inspection gives you the opportunity to review all work with the project manager and ask questions about plant care or system operation.
You’ll verify that all design elements were installed as planned, hardscapes are level and stable, and plants match the approved species list. The project manager demonstrates irrigation controls if applicable and reviews the care instructions that keep your landscape healthy.
This walkthrough also addresses any concerns you notice, from plant placement adjustments to irrigation head repositioning. Reputable installers correct any issues before considering the project complete, ensuring you’re satisfied with the finished landscape.
Setting Up Your Landscape for Long-Term Success
The weeks following installation determine whether your new landscape thrives or struggles. Consistent watering according to the provided schedule remains the single most important factor during establishment, more critical than fertilizing or other interventions.
Most new landscapes benefit from a follow-up visit four to six weeks after installation. This check allows professionals to assess plant establishment, adjust irrigation settings based on observed performance, and address any emerging issues before they become serious problems.
Planning for ongoing maintenance keeps your investment looking its best. Understanding what professional maintenance includes helps you decide whether to handle upkeep yourself or schedule regular service visits.
All Season Lawn and Landscaping LLC has guided property owners through successful landscape installations since 2008, managing every detail from initial site prep through final inspection. Our full-service approach means you work with one team throughout the entire process, eliminating coordination headaches and ensuring consistent quality at every phase.
If you’re ready to transform your outdoor space with professional installation, contact our team at (816) 363-3203 to discuss your project goals and schedule a consultation.